Table of Contents
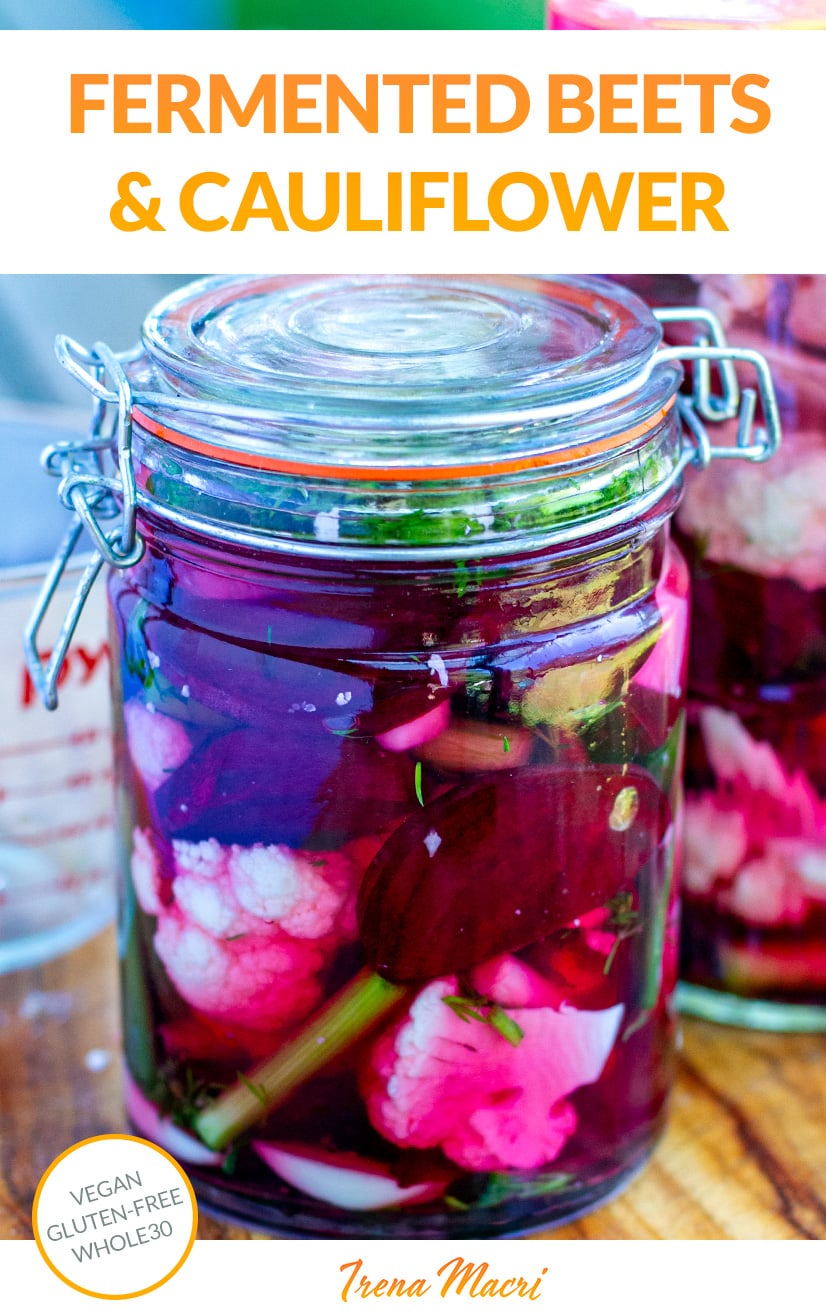
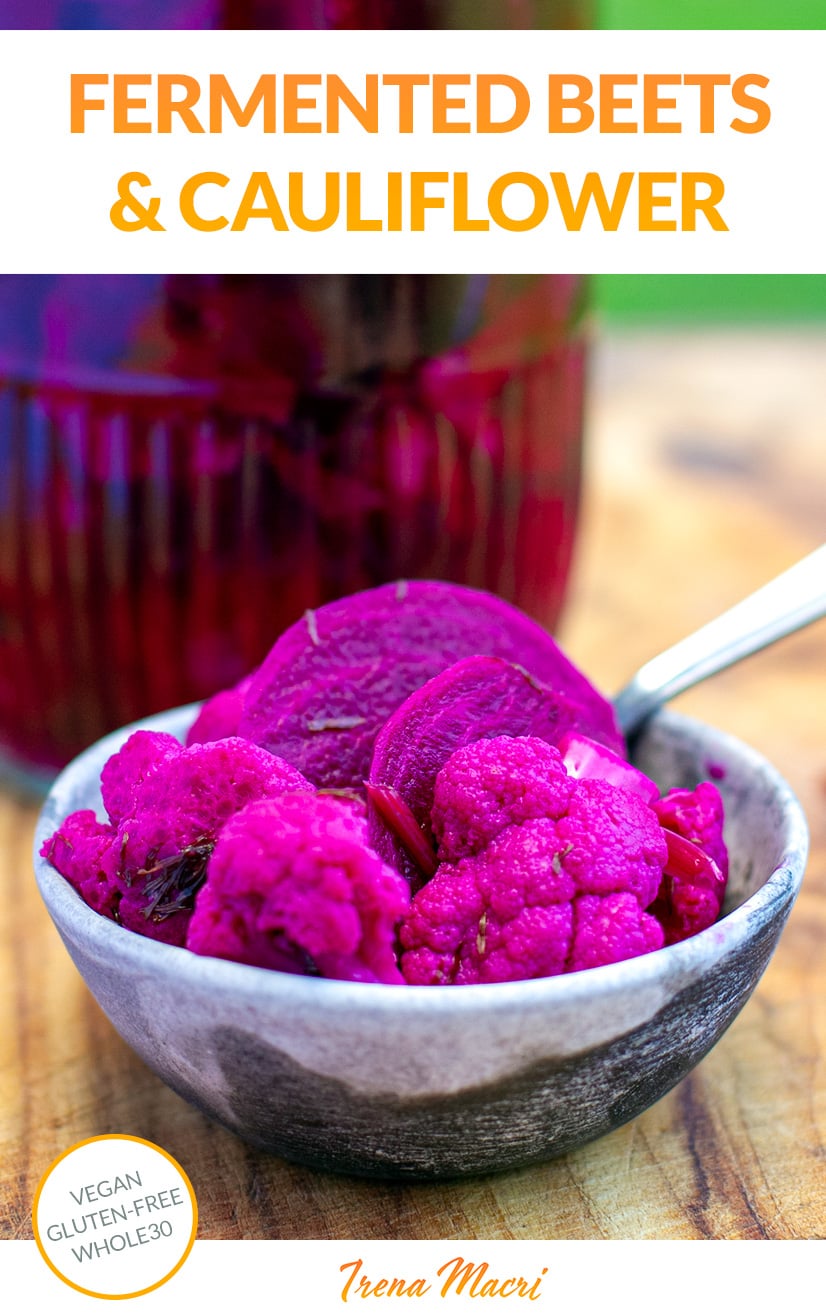
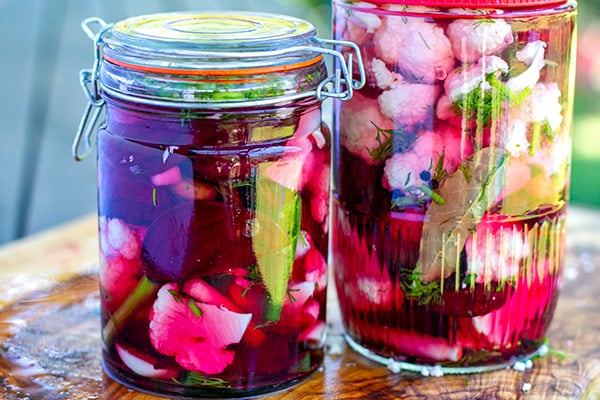
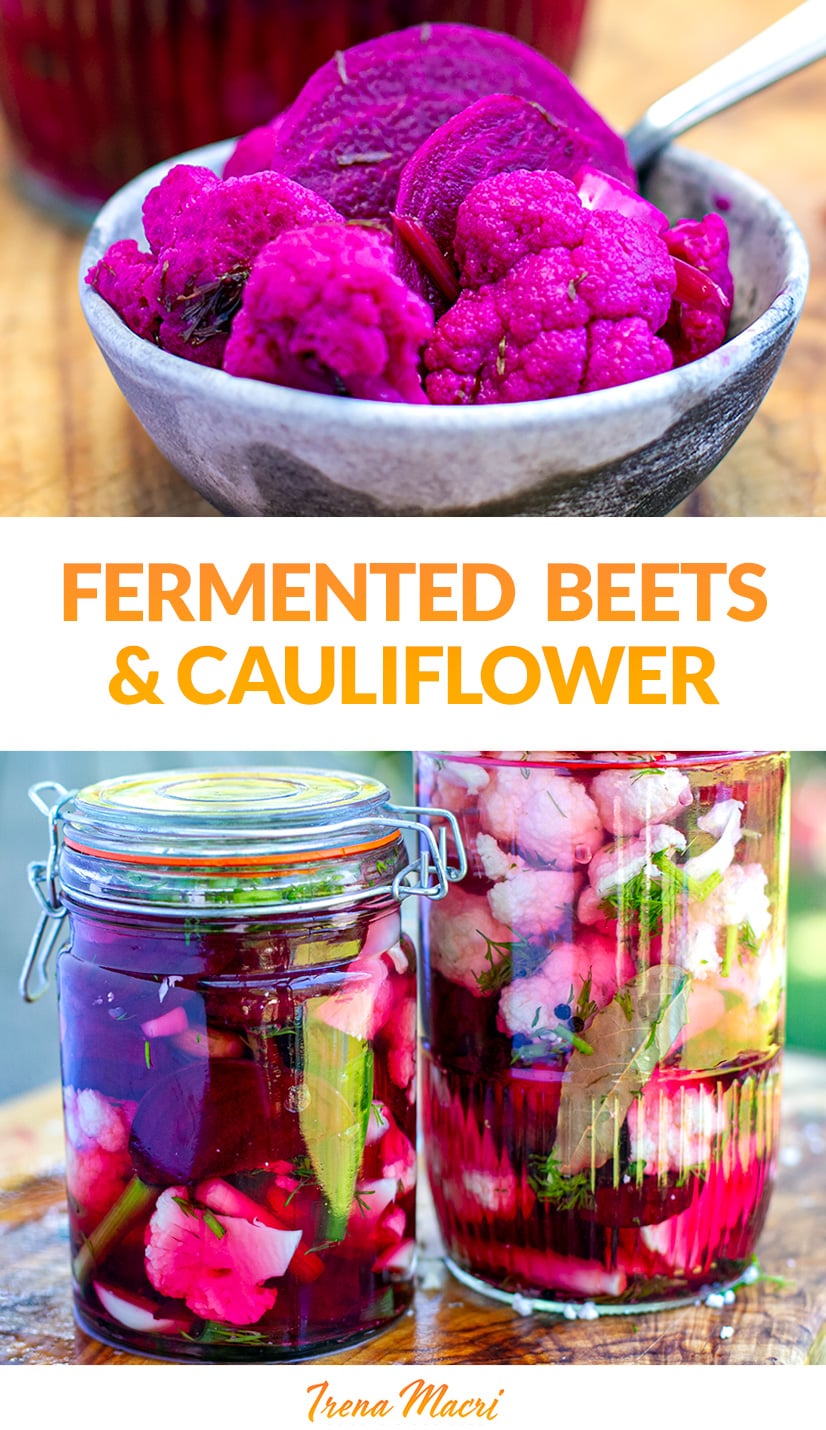
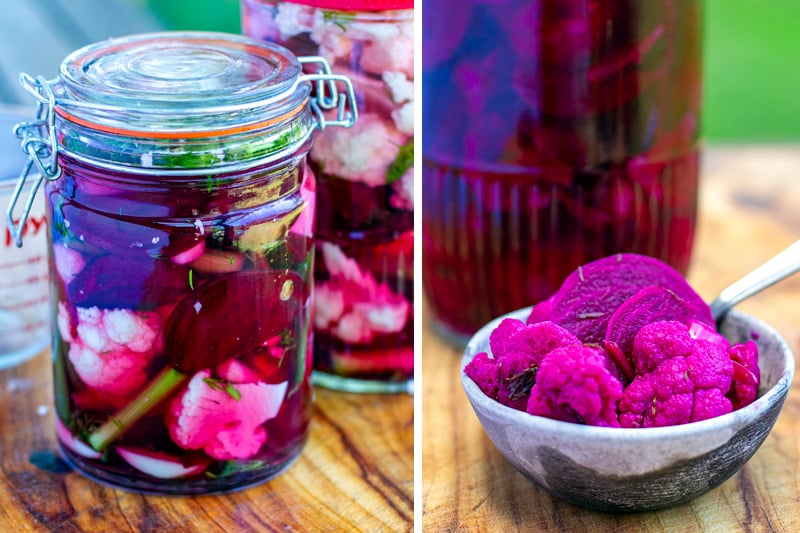
You’ll love these fermented beets and cauliflower with garlic and dill as a facet or condiment to any meal or as a flavoursome snack in your antipasto platter. Stuffed with gut-beneficial micro organism (probiotics!), it is a nice template recipe for lacto-fermented pickles that you should utilize for preserving most surplus greens. And, how about that color!?!
I like lacto-fermented pickles made with any greens! Fermented meals are filled with probiotics, that are nice for supporting your immune system. My favorite must be sauerkraut, which I make regularly, however I additionally usually ferment different issues like carrots, celery, cauliflower and beets.
Pickling vs Fermenting
The principle distinction between fermenting and pickling is the preservation course of, which leads to that tangy, bitter flavour. Pickled meals are soaked (preserved) in an acidic brine, often made with vinegar, which provides them a bitter and usually candy flavour as sugar is usually added. Fermented meals are tangy due to the lactic acid produced throughout the response between current sugars and micro organism. Sauerkraut and kimchi are fermented; gherkins are pickled. Cabbage will also be pickled. Pickled greens are scrumptious, nevertheless, they don’t include stay micro organism which is so helpful for our intestine!
FERMENTED BEETS & CAULIFLOWER
This fermentation recipe is an effective way to protect beets (beetroot) and cauliflower however you can too use it for making fermented carrots, beans, radish, onions or peppers. In addition to utilizing salt to protect the greens, aromatics like garlic and inexperienced onions, in addition to black peppercorns, bay leaves and recent dill are added for flavour. Dill is fabulous with fermented greens! These are gluten-free, paleo, Whole30, low-carb, Mediterranean, low-calorie, vegan-friendly.
HOW TO FERMENT BEETS & CAULIFLOWER
Discover the complete record of substances within the recipe card beneath. Here’s a step-by-step course of with pictures to information you alongside.
For the quantity of beetroot or cauliflower used, you will want two 1-litre jars with tight lids (and possibly 1 further small one)
Step 1. Wash the jars and the lids in sizzling water with cleaning soap or dishwashing liquid and rinse properly. Place the wrong way up on a towel to empty.
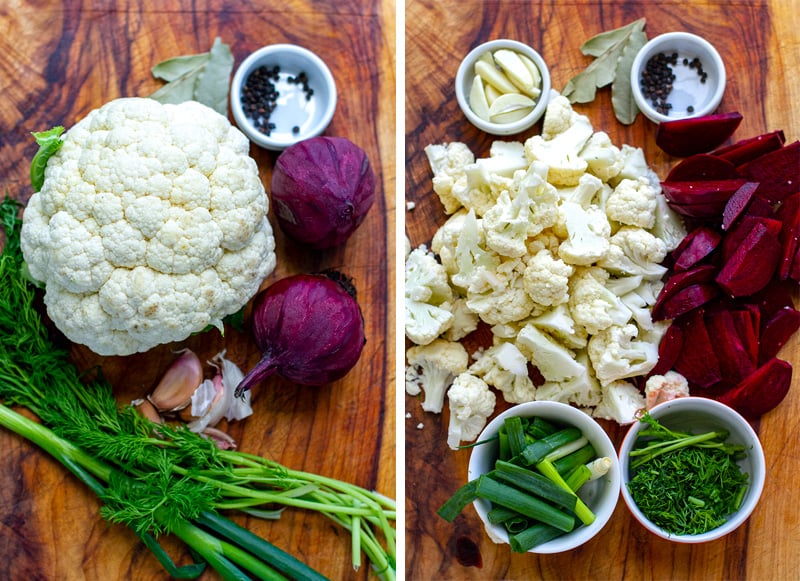
Step 2. Put together the greens, herbs, garlic and spices. Peel the beets and minimize them into wedges. Wash the cauliflower and minimize it into small florets.
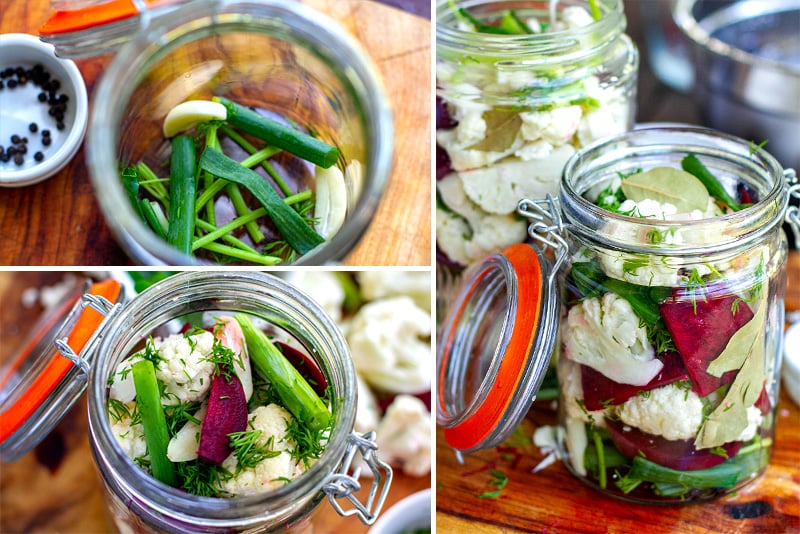
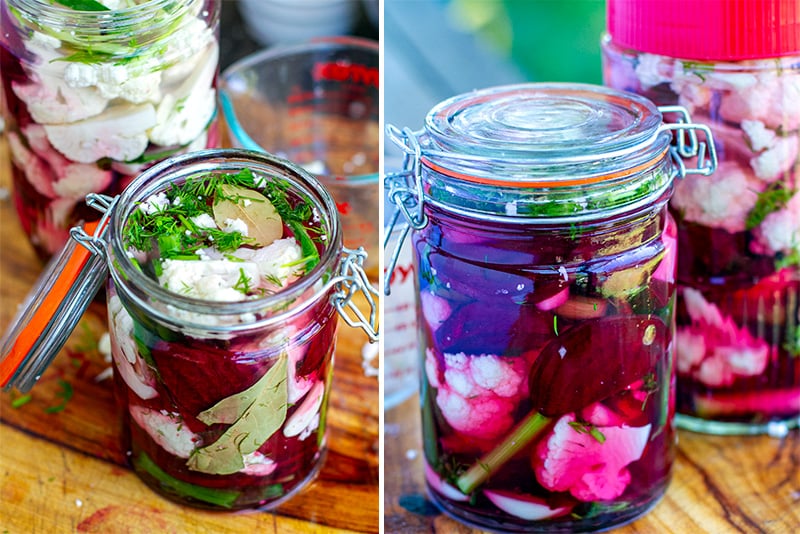
Step 3. Stuffing the jars (see beneath). Add 3 garlic items and some peppercorns, a sprinkle of dill and 2-3 spring onion items to the underside of the jar. High with a layer of cauliflower and beets. Add extra dill, spring onions, garlic and peppercorns and one bay leaf. Proceed filling the jar on this trend, ending with yet another bay leaf proper on the finish. It is best to expend half of the garlic, spring onions, dill and peppercorns.
Fill the jar to the highest very tightly however go away 1.5-2-cm area between the lid and the greens.
Step 4. Make a fermenting saltwater brine. You’ll need about 500ml to 700ml (2-3 cups) of the salty brine however this may rely on the scale of the jars (you would possibly use 2 very giant jars or 1 giant and a couple of small jars and so forth). The extra stuffed the jar is, the much less liquid you will want to submerge all of the greens. I often make extra saltwater brine than I want.
SALT TO WATER RATIO FOR LACTO FERMENTING
Sometimes a 2% salt to water brine is used for fermenting more durable greens comparable to beets, cauliflower, carrots, onions, radishes and garlic. For softer greens with increased water content material, comparable to cucumbers, capsicum (bell peppers) asparagus, and zucchini, a 5% salt to water brine is really helpful.
For instance, for 1 litre of water (1000 grams on the scales), I’d multiply 1000*0.02, which is 20 grams of salt (2%). That’s about 1.5-2 tablespoons relying on the salt granules.
To start with, I often combine 1 litre of water with 2 tablespoons of salt. You may all the time make further brine if wanted or discard the leftovers. Enable the salt to dissolve utterly.
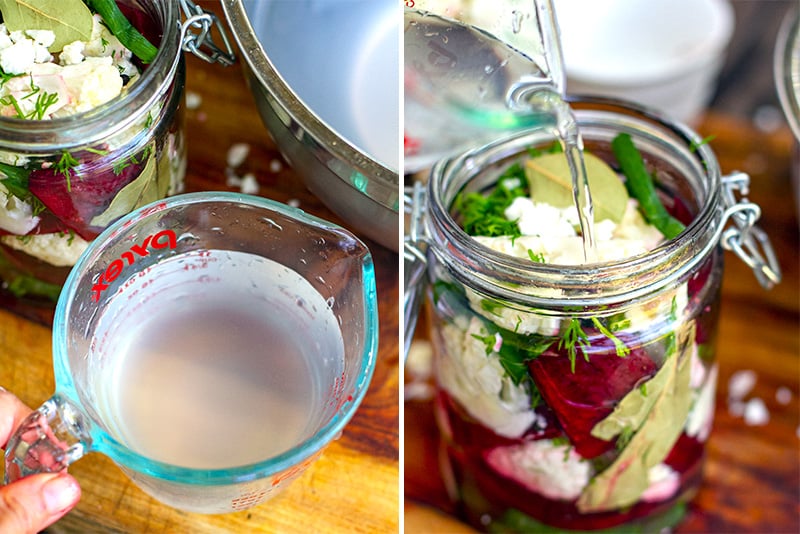
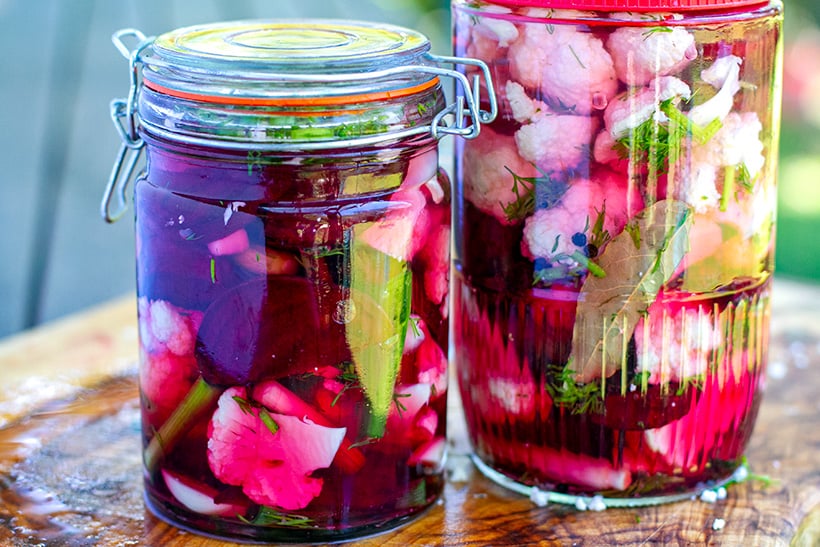
Step 5. Now that each one our substances are stuffed within the jar, pour within the salt brine to submerge the greens. I prefer to fill it nearly to the highest however go away about 1/2cm of area between the liquid and the lid. Use your fingers to press down on the greens to ensure they’re properly underwater.
Pop the lid on prime and shut tightly. Retailer the jars in a heat place away from the solar or direct gentle. Be certain to place them on a plate or a tray to catch any fermenting juices that may escape the jar.
Fermentation instances & burping the jars
Here’s a primary fermentation timeline that you should utilize for preserving most lacto-fermented greens in saltwater brine.
Part 1 – Preliminary fermentation – 36-72 hours
Enable about 48 hours for the preliminary fermentation to start. Throughout this time some bubbles could kind and the strain within the jar will begin to construct up. This can push the liquid to the floor. This course of can take between 36 hours to 72 hours relying on how heat it’s and the way a lot salt you used.
I like to recommend checking after 36 to 48 hours to see it feels just like the strain is build up. Gently open the lid and in case you hear a hissing launch sound, then you understand that a few of that strain is popping out. That is referred to as ‘burping the jar’.
I often open the lid to see if I have to discard a tablespoon or two of the liquid. I additionally press the greens down once more as they usually floor to the highest. Once more, be sure that all the pieces is submerged and there’s solely a little bit little bit of area between the lid and the liquid. We need to get rid of as a lot oxygen as potential. Some individuals use weights on prime of the greens to maintain them down.
Part 2 – Energetic fermentation – 2-3 days
After the primary 48 hours, the fermentation might be fairly energetic so I prefer to test and burb the jar each 24 hours or so for the subsequent 2-3 days. When you test the jar and it doesn’t really feel prefer it has an excessive amount of strain and bubbles constructed up, you’ve now entered the gradual fermentation section and also you don’t have to take care of it as a lot.
Part 3 – Sluggish fermentation – 3-10 days
As soon as it feels just like the fermentation isn’t producing as a lot strain and bubbles, you may go away the jar alone for a couple of days to permit the veggies to ferment slowly and develop extra flavour. The longer you allow them, the extra bitter/tangy they are going to get and softer in texture. I discover that with sauerkraut and kimchi, they’re able to be moved to the fridge and for consumption after about 7 days. Nevertheless, with greens which can be fermented in saltwater brine, they’re higher after 10 days.
I prefer to style the greens after 7 days. I want them a little bit crunchy so I transfer them to the fridge as quickly as they’re tangy/bitter sufficient. As soon as within the fridge, they are going to proceed to ferment at a really gradual charge and may be saved for a couple of weeks if not longer.
EXTRA NOTES
Salt: I used plain outdated desk salt right here however you should utilize the flowery type of extra minerals and so forth. However as a result of I’m utilizing tablespoons of the stuff, I’m staying budget-friendly right here.
Water: Some individuals say you must solely use filtered water or bottled water however for these ferments, I used good ol’ faucet water as a result of it’s completely tremendous the place we’re. When you have a filter or Brita jug, you should utilize the extra purified water.

MORE DELICIOUS CONDIMENTS RECIPES
Description
Discover ways to make lacto fermented beets and cauliflower with saltwater brine, garlic and dill. This how-to recipe can be utilized to ferment most greens. Lacto fermented pickles are nice as a facet dish or a condiment with any meal and look unbelievable on an antipasto platter or snack board. Stuffed with gut-healthy probiotics and an effective way to protect surplus veggies.
Discover the complete record of substances within the recipe card beneath. Here’s a step-by-step course of with pictures to information you alongside.
You’ll need two 1-litre jars with tight lids (and possibly 1 further small one) for the quantity of beetroot or cauliflower used.
Preparation.
- Wash the jars and the lids in sizzling water with cleaning soap or dishwashing liquid and rinse properly. Place the wrong way up on a towel to empty.
- Put together the greens, herbs, garlic and spices. Peel the beets and minimize them into wedges. Wash the cauliflower and minimize it into small florets.
Stuffing the jars.
- Add 3 garlic items and peppercorns, a sprinkle of dill and 2-3 spring onion items to the underside of the jar. High with a layer of cauliflower and beets. Add extra dill, spring onions, garlic and peppercorns and one bay leaf. Proceed filling the jar on this trend, ending with yet another bay leaf proper on the finish. It is best to expend half of the garlic, spring onions, dill and peppercorns.
- Fill the jar to the highest very tightly however go away 1.5-2 cm area between the lid and the greens.
Make saltwater brine.
- You’ll need about 500ml to 700ml (2-3 cups) of the salty brine however this may rely on the scale of the jars (you would possibly use 2 very giant jars or 1 giant and a couple of small jars and so forth). The extra stuffed the jar is, the much less liquid you will want to submerge all of the greens. I often make extra saltwater brine than I want.
- I often combine 1 litre of water with 2 tablespoons of salt (20 grams). You may all the time make further brine if wanted or discard the leftovers. Enable the salt to dissolve utterly.
- Pour within the salt brine within the jars to submerge the greens. I prefer to fill it nearly to the highest however go away about 1/2cm of area between the liquid and the lid. Use your fingers to press down on the greens to ensure they’re properly underwater.
- Pop the lid on prime and shut tightly. Retailer the jars in a heat place away from the solar or direct gentle. Be certain to place them on a plate or a tray to catch any fermenting juices that may escape the jar.
Fermentation phases & easy methods to test in your greens.
- Enable about 48 hours for the preliminary fermentation to start. Throughout this time some bubbles could kind and the strain within the jar will begin to construct up. This can push the liquid to the floor. This course of can take between 36 hours to 72 hours relying on how heat it’s and the way a lot salt you used.
- Test after 36 to 48 hours to see it feels just like the strain is build up. Gently open the lid and in case you hear a hissing launch sound, then you understand that a few of that strain is popping out. That is referred to as ‘burping the jar’.
- If there’s an excessive amount of liquid (all the way in which to the lid), discard a tablespoon or two. Press the greens down once more as they usually floor to the highest. We need to submerge all the pieces to get rid of as a lot oxygen as potential. Some individuals use weights on prime of the greens to maintain them down.
- After the primary 48 hours, the fermentation might be fairly energetic; test and burp the jar each 24 hours for the subsequent 2-3 days.
- As soon as it feels just like the fermentation isn’t producing as a lot strain and bubbles, you may go away the jar alone for a couple of days to permit the veggies to ferment slowly and develop extra flavour. The longer you allow them, the extra bitter/tangy they are going to get and softer in texture. I discover that with sauerkraut and kimchi, they’re able to be moved to the fridge and for consumption after about 7 days. Nevertheless, with greens which can be fermented in saltwater brine, they’re higher after 10 days.
- Style the greens after 7 days. I want them a little bit crunchy so I transfer them to the fridge as quickly as they’re tangy/bitter sufficient. As soon as within the fridge, they are going to proceed to ferment at a really gradual charge and may be saved for a couple of weeks if not longer.
Notes
Salt to water ratios: Sometimes a 2% salt to water brine is used for fermenting more durable greens comparable to beets, cauliflower, carrots, onions, radishes and garlic. For softer greens with increased water content material, comparable to cucumbers, capsicum (bell peppers) asparagus, and zucchini, a 5% salt to water brine is really helpful. For instance, for 1 litre of water (1000 grams on the scales), I’d multiply 1000*0.02, which is 20 grams of salt (2%). That’s about 1.5-2 tablespoons relying on the salt granules.
Diet
- Serving Dimension: 2 wedges of beets + 2 cauliflower florets
- Energy: 67
- Sugar: 2.9 g
- Sodium: 502.9 mg
- Fats: 0.4 g
- Carbohydrates: 14.5 g
- Fiber: 2.6 g
- Protein: 3.4 g
- Ldl cholesterol: 0 mg
Key phrases: Fermentation, Fermenting, Lacto Fermentation, Pickles, Beets, Cauliflower, Beetroot, Probiotics